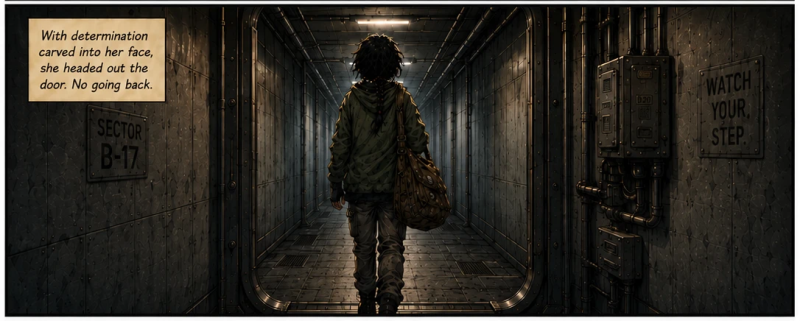
A Quick Word Before We Start
Disclaimer: I appreciate AI isn't for everyone. I know there's a lot of 'AI slop' being generated and I really don't want to be adding to the slurry of mediocrity that the web is turning into. So I apologise in advance if this post irritates the community of passionate comic book artists, illustrators and purists out there who have spent years (decades in some cases) honing their craft. To them, AI-generated comic art is a shortcut and a threat. I totally get that, probably more than most being a software engineer and budding unpublished author.
But I can't draw. Or I can, but it's not very good. (I keep meaning to learn and maybe one day I will, but it's lower down on my list of priorities and I already have too many things I'm interested in to spare the time.)
I'm also not in a position to pay a professional artist to illustrate my book, a book that, let's be completely honest, might never find a wide audience. That's just the reality of being an independent writer these days - especially in the era of AI ironically!
What AI has done though, is open a door that was firmly shut to me. It's let me bring my story to life visually in a way I never thought possible. Has it been quick? No. I've spent a ridiculous amount of time re-rendering images. Well it feels like ages anyway when you're just waiting for the page to reload, and I've got an awful long way to go yet. I've burnt through my ChatGPT subscription limits more than once, and gone down more dead ends than I care to admit. But it's been quicker than learning how to draw.
Despite this, it's been one of the most enjoyable creative experiences I've had recently. And it's produced results I'm genuinely proud of.
So if you're an AI sceptic who doesn't want to touch AI out of principle, I completely understand. But if you're a writer, especially if you're unpublished and just want to get your story out there into the world and don't have an illustration budget, I think this is worth your time.
But please don't hate me.
The Idea
I'm writing a middle grade sci-fi adventure series set on Mars, and I thought: wouldn't it be cool to turn the first chapter into a comic book, to show readers the world I've been building in my head.
It starts with the Emperor in a dark nanosuit moving urgently through a vast Observation Chamber beneath a hexagonal glass dome. A violent Martian storm rages outside. The dome cracks, then shatters. A mysterious shadowy figure escapes through a hatch. I imagined the scenes when I wrote it - like a movie in my head. So it felt tailor-made for a comic strip.
How hard could it be, I thought?
Spoiler: it was harder than I expected initially, and then ultimately so much more achievable than I ever expected.
Step One: Breaking the Story Down
The first thing I did was break the chapter down into pages and panels, identifying the important 'beats' I wanted to maintain to make it all make sense and move the action forward.
- Pages — paced for dramatic effect
- Panels — shot type, composition, what's happening visually
- Dialogue and captions — speech bubbles, narration boxes, sound effects
Every panel has to earn its place and move the story forward logically.
My opening chapter became 6 pages and 24 panels.
If you're thinking about doing this with your own book, start here. Script it out before you touch any AI tool.
A Thought for Writers: Storyboard First, Write Later
The process has made me think about storyboarding as a writing tool in its own right. Not just for turning finished books into comics, but as something you could do before you flesh out the writing and add all those lovely descriptive passages.
Breaking your story into pages and panels forces you to identify the essential beats and the moments that actually matter. If a scene doesn't generate at least one compelling panel's worth of visual interest, it might be a scene you can skip.
I might actually try storyboarding the action like this, before I write any future stories. I'm a bit of a planner, so I think it might become part of the writing process for me, even if I don't go on to produce a full comic for it.
The Tools I Tried (and why most of them disappointed me)
Every article I found online made it sound straightforward. It wasn't.
ComicInk
My first proper attempt. ComicInk had promising features: a script-to-comic mode, character consistency tools, a Creator Store where you keep 70% of sales. I signed up, got 100 free credits, and started working through their creation flow.
But I quickly burnt through my credits and I wasn't overly impressed by what I generated. I also realised then that the costs would quickly add up, especially if I needed to keep re-generating pages.
ComicPad
This one was infuriating. The ComicPad landing page said "Free to sign up · No credit card required." True: signing up was free. Actually doing anything useful? Paywall. Immediately.
The frustrating thing is that the sample images on their site were stunning. Exactly the style I was looking for. But I never got to properly test whether the real output matched the marketing material. I may have gone back to this, if I hadn't found my final solution, but I really didn't feel comfortable paying money to a company that seemed dishonest in what they were offering. It was weird.
Their terms of service however seemed genuinely creator-friendly. From what I understand you seem to retain full ownership of everything you create. Comics you generate are yours to use, share and distribute, including selling on Amazon KDP. If you're willing to pay, £14.99 gets you 3,000 credits which covers roughly 7 full chapters. Not terrible value if the output is good and you don't need to keep re-generating... I guess we'll never know.
LlamaGen
Free, reasonably capable, but the LlamaGen terms of service were broad and vague in ways that made me uncomfortable for an unpublished original story. I liked the fact they had a platform to actually promote my comic on, but I didn't like their terms which meant they had loads of rights over the work and other people could create derivative works based on it. I moved on quickly.
Midjourney
Brilliant for single images if you have time to spare. Midjourney can produce beautiful results. But you can also get bat-shit-crazy stuff. I also found it terrible for comic panels. I tried generating multi-panel pages and the results were hopeless. Midjourney isn't designed for sequential art and it shows. That said, it's still useful for generating character reference images, which I'll come back to.
OpenArt / Perchance / Various Others
I went down quite a rabbit hole here. Perchance looked basic but actually produced some interesting results. OpenArt has a Seedream 4.5 model that's genuinely stunning, but seemed more aimed at video production than comic books. The interface was also super complex and not designed with storytellers in mind.
I found the whole process frustrating to say the least, and certainly not fun.
The Breakthrough: My Wife Suggested ChatGPT
Three hours down and I was ready to give up. Or at least put it on the back burner.
Then my wife said: have you tried ChatGPT? It's pretty good at images now.
I hadn't. Along with the rest of the world in early 2026 I moved over to Claude for coding. (Claude doesn't really do images.) I'd been so focused on dedicated comic tools that I'd overlooked the obvious. I tried ChatGPT, and within minutes I had my first page.
I hate to say it, but it was amazing.
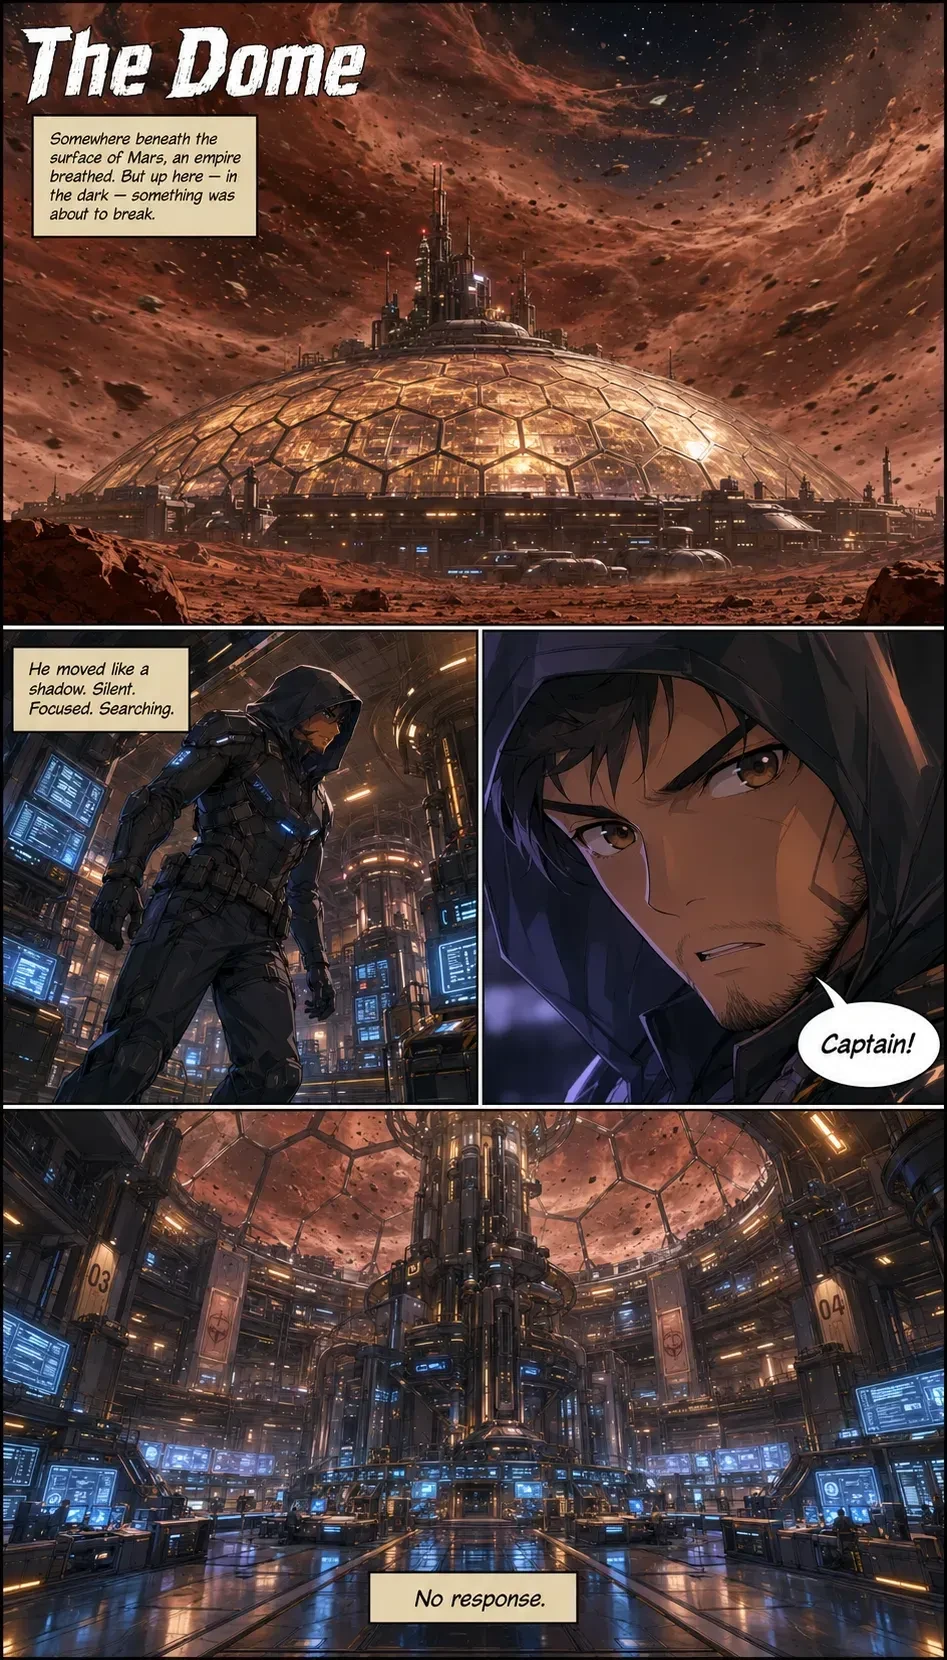
Not perfect, nothing ever is first time, but genuinely really impressive. Complete with actual panel layouts, narration boxes, speech bubbles and sound effects all rendered beautifully. The dome shattering across a full-width splash panel. The Emperor's eyes wide with fear. "SILENCE." written starkly across an empty chamber.
I've now generated the first three chapters. I'm planning to redo Chapter 1, as I started in an American comic book style and gradually discovered I prefer a painted manga aesthetic, which I think suits the tone of my story better. But that's a nice problem to have.
The Workflow That Actually Works
Here's exactly what I do now, refined across three chapters worth of trial and error.
1. Script Your Pages First
Don't skip this. Write out every page with panel descriptions, dialogue and captions before you open ChatGPT. It forces clarity and stops you wasting generations on vague prompts.
2. Start a New Conversation for Each Chapter — And Know How to Clean Up
This is important. The longer a ChatGPT conversation runs, the more the image quality degrades. And I don't just mean style drift: the images themselves start becoming what I can only describe as dirty. Grainy. Unclear.
I tried various prompts to fix this with mixed success, but this is the one I kept coming back to as a solid general purpose cleaner:
"Clean high-quality cinematic graphic novel illustration, preserve original composition and character design, sharp coherent linework, refined facial features, anatomically correct hands, clean mechanical details, crisp comic panel borders, readable typography, balanced contrast, rich midtones, subtle realistic textures, controlled film grain, detailed but natural shading, improved depth separation, professional comic-book rendering, ultra clean edges, high dynamic range lighting, remove compression artifacts, remove muddy textures, remove oversharpening halos, remove AI noise, preserve atmosphere and mood, highly detailed, 4k quality."
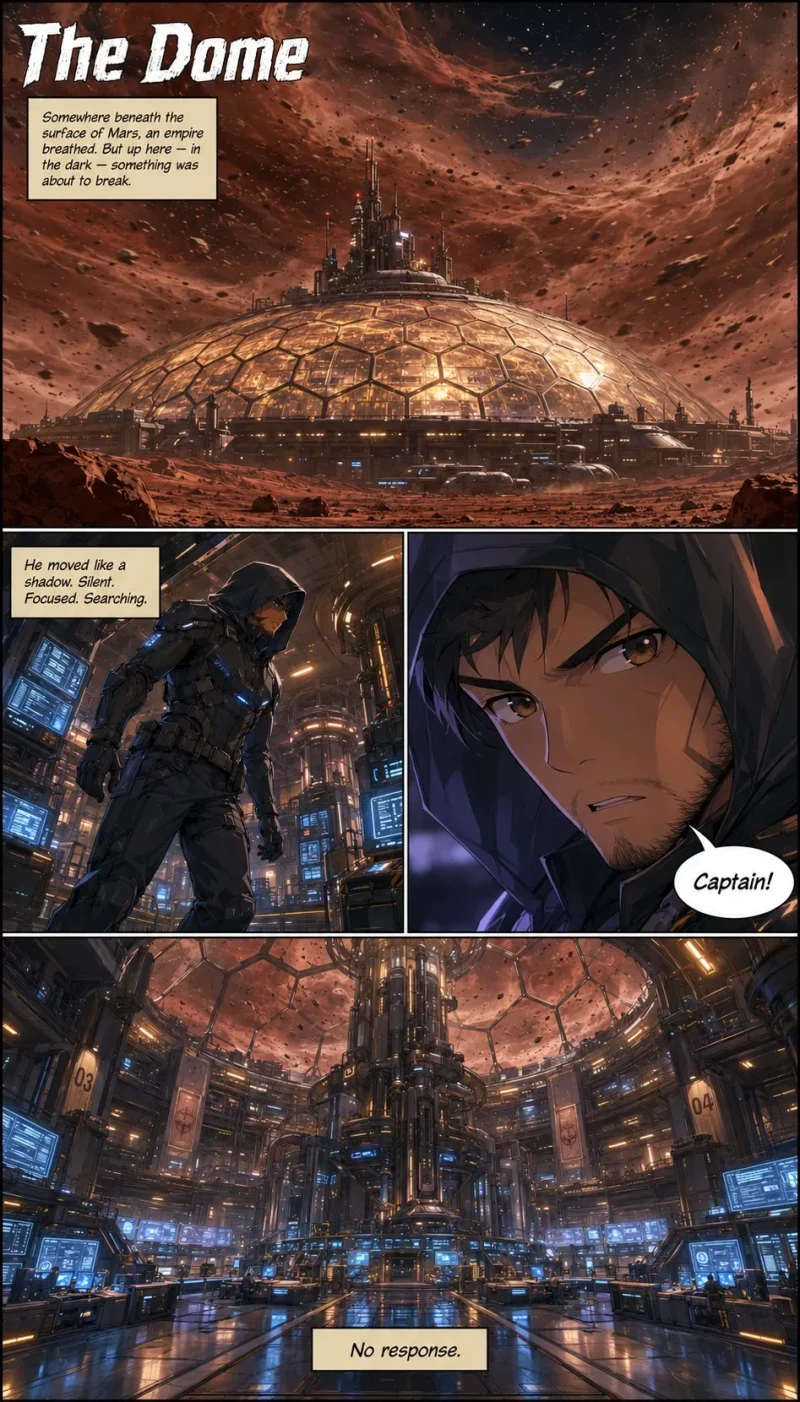
You can see a before and after below. It's not as clear in the image below because I've had to make it smaller, but it's certainly better than it was.
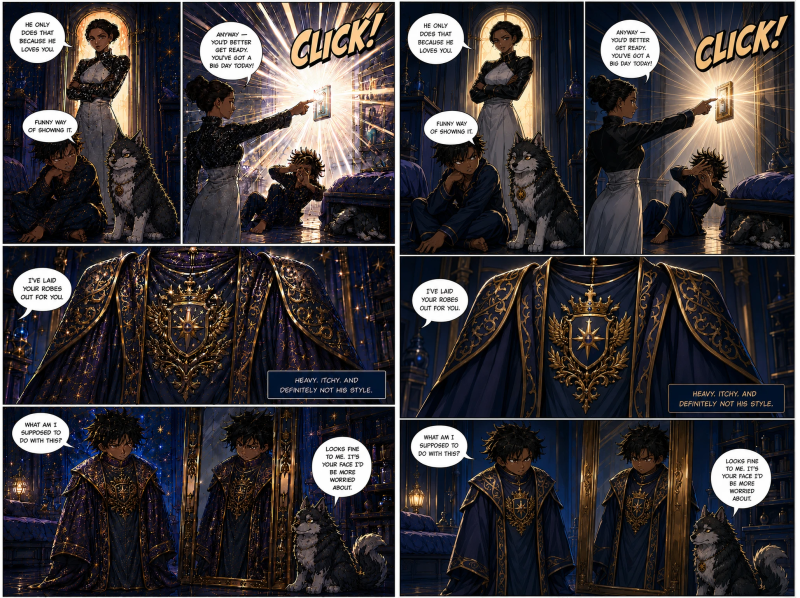
And when I decided to convert my existing pages from American comic style to painted manga, I used this more specific prompt. Just upload your existing page and fire this at it:
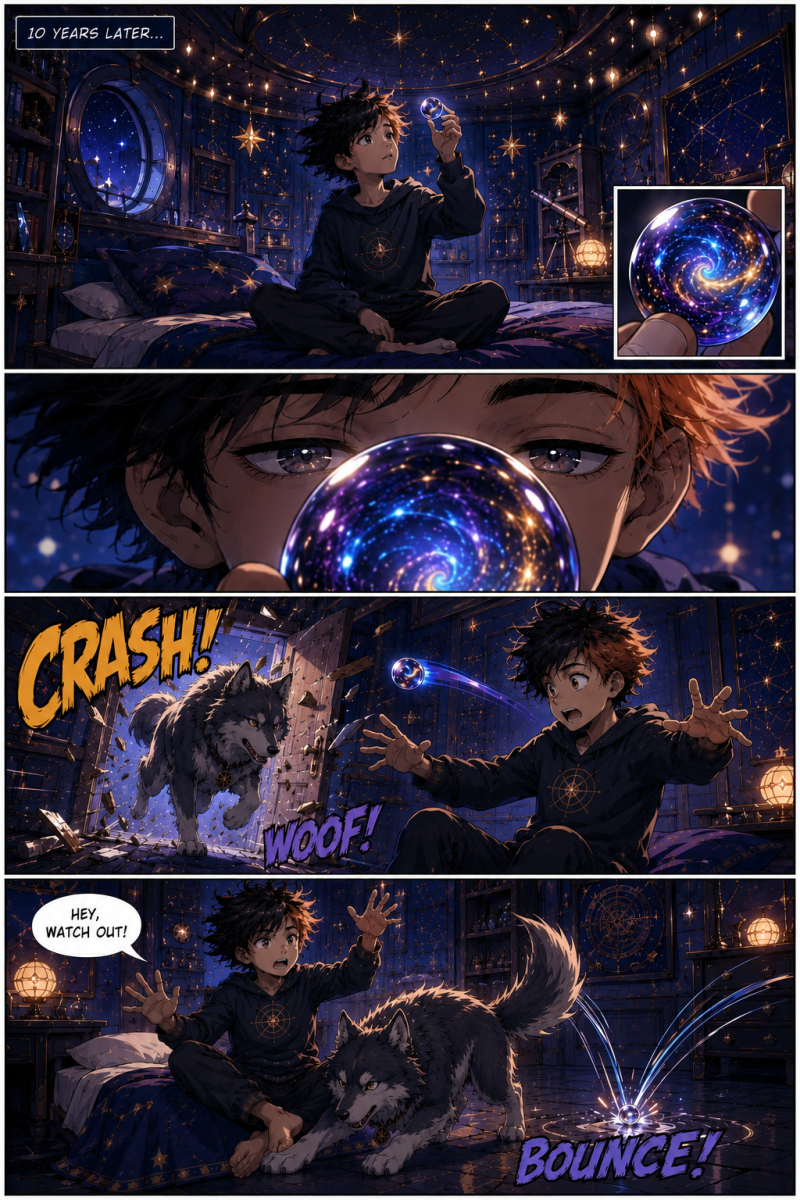
"Re-illustrate this comic page in a polished painterly manga-fantasy style while preserving the original comic page exactly. Preserve exactly: panel layout and composition, camera angles, storytelling flow, caption placement, dialogue and text, environmental design, scene framing, color palette, lighting mood, overall atmosphere. Do NOT redesign the page. Do NOT change the storyboarding. Do NOT alter the scene structure. Only transform the rendering style. Convert the artwork into: painterly manga-inspired rendering, elegant fantasy graphic novel aesthetics, cinematic anime-style lighting, refined brush-painted textures, soft atmospheric depth, expressive facial rendering, clean stylized anatomy, luxurious material rendering, subtle celestial fantasy detailing. Rendering style targets: premium illustrated fantasy manga, cinematic anime film aesthetic, polished digital painting, controlled painterly brushwork, elegant lineart combined with soft rendering. Maintain: strong readability, clear silhouettes, disciplined focal hierarchy, clean panel separation, cinematic lighting contrast, selective detail emphasis. Reduce: gritty realism, harsh texture noise, over-detailed sci-fi surfaces, excessive hard-edge rendering, photorealistic materials, visual clutter. Introduce: softer painterly transitions, luminous highlights, subtle magical atmosphere, stylized anime facial structure, elegant decorative simplification, refined color blending. Keep the exact deep crimson, navy, black, and glowing amber palette from the original image. Preserve the emotional tone, pacing, and cinematic framing exactly, only change the artistic rendering style. The final image should feel like a high-budget painterly manga adaptation of the original sci-fi comic page."
3. Establish Your Style on Page One - Then Lock It In With Character References
Your first prompt sets the visual DNA for everything that follows. Get it right.
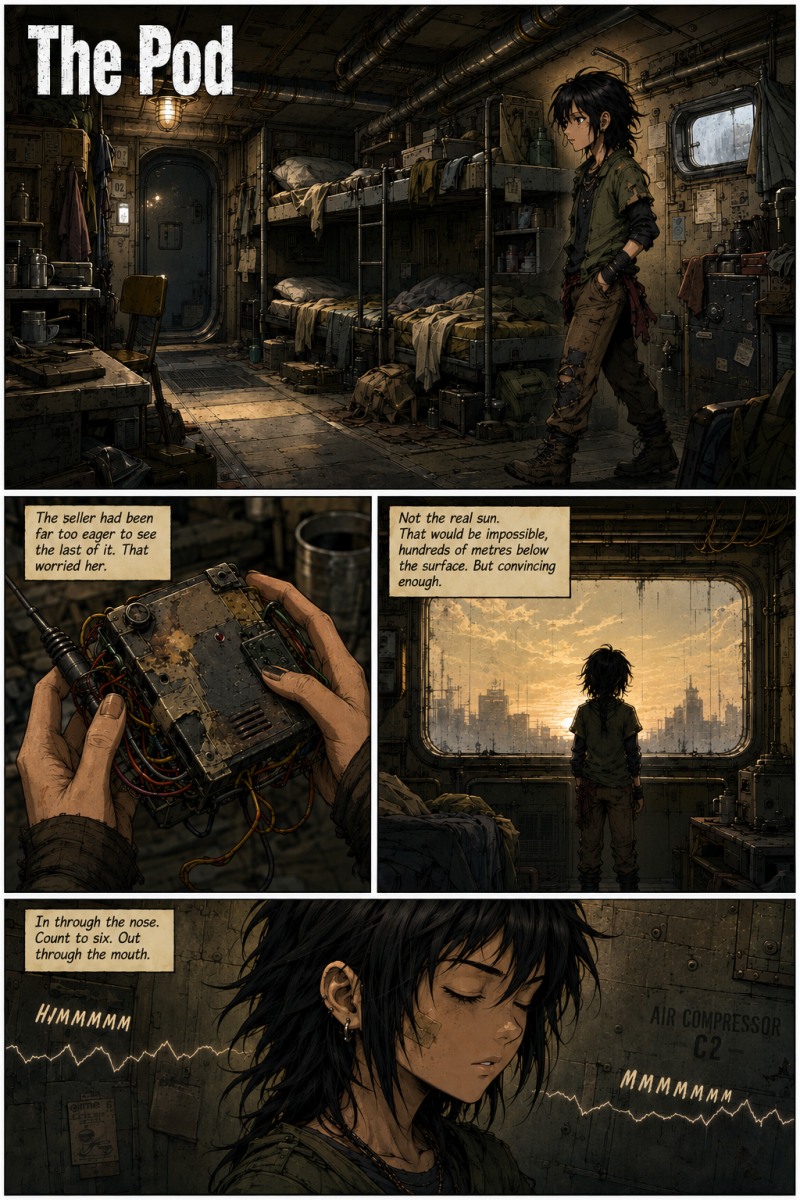
Once you have a page you love, every subsequent prompt starts with:
"Following on from your last image in the exact same style..."
This single phrase does a remarkable amount of heavy lifting for consistency, although it only works for a few images. After a while they get the 'grain/dirty' issue I mentioned, so you have to factor this in and start a new conversation if the quality is dropping.
But when you start a new conversation, which you should for each chapter, that context is gone. This is where character references become essential. I generated simple reference sheets for my main characters: just the character on a plain white background, full body, clear detail. At the start of each new conversation I upload these reference images alongside my first prompt. It gives ChatGPT something concrete to anchor the character's appearance to, rather than reinventing them from scratch each time. Not perfect, but significantly better than going in blind. Sometimes I forgot to share the character references and got some random people in the scene, so I had to edit the images and say 'Now generate with my reference image etc.' It works, but it's better if you get it right first time.
4. Prompt Structure for Each Page
Here's the format I use:
Following on from your last image in the exact same style please create the next page in the comic book titled "[PAGE TITLE]" divided into [X] panels in a classic [STYLE] comic book layout. [COLOUR PALETTE]. [ART STYLE DETAILS]. Clear white gutters between panels.
Panel 1 ([position, size]): [Visual description]. [Narration box / speech bubble / SFX text].
Panel 2...
Be specific about panel position and size. "Top left, small" and "full width splash panel" give ChatGPT clear layout instructions. Name your sound effects explicitly: CRAAAAASH, KRANNNG, ROAAAARRR, and tell it where narration boxes go.
5. Blur Your Backgrounds
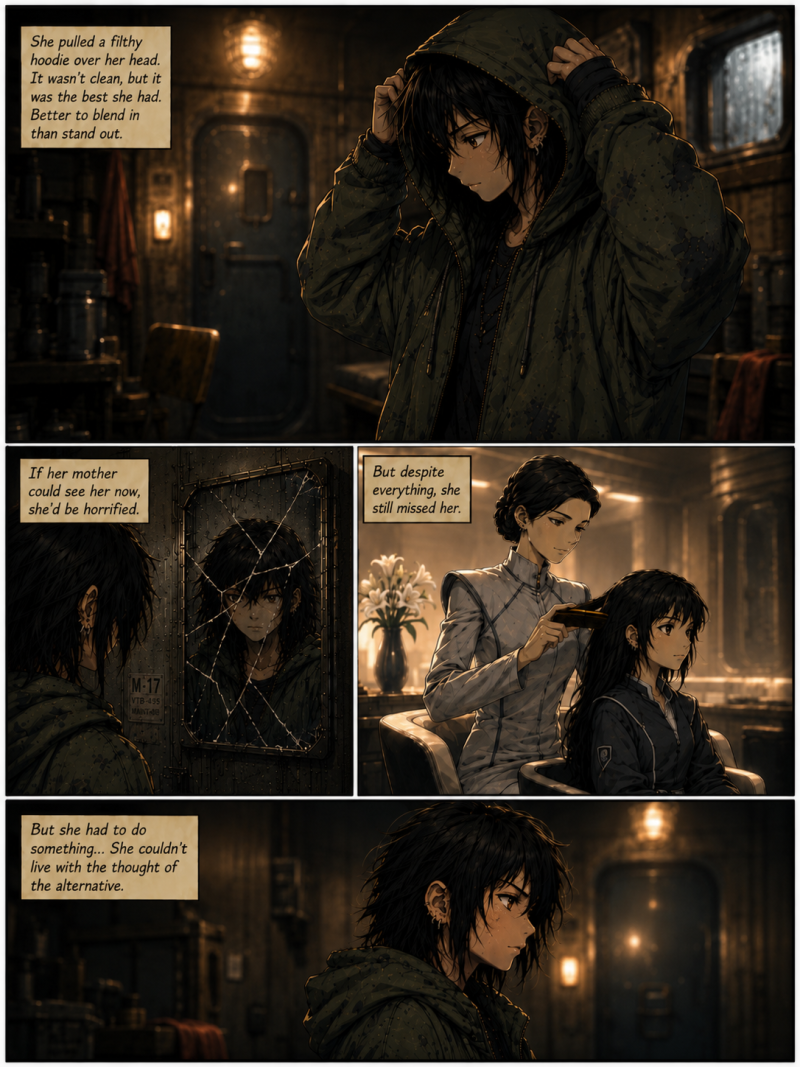
When you're generating the same room in multiple panels, you'll find AI tends to move things or add random signs and doors in places they shouldn't logically be. It would be fine (to some extent) if it was consistent - but it's not. You can get away with a little creative licence I feel with a comic, but ultimately it's not great. So I found that bluring the backgrounds just hides these issues. Otherwise you'll spend ages tweaking stuff and losing image quality on ever roll of the dice. Also blurring backgrounds keeps the focus on the character which is an interesting stylistic choice in itself and gives the pages a more dynamic, cinematic feel.
6. Upload a Reference Image When Style Drifts
If you start a new conversation and the style doesn't quite match your earlier pages, upload one of your best existing pages as a reference image. Tell ChatGPT to match it. It's remarkably good at this.
7. Watch Your Panel Count
ChatGPT handles 3-4 panels per page most reliably. Push to 5 or 6 and the layout can get confused. If you have a lot of beats to hit, consider spreading them across two pages rather than cramming them into one.
Tips I Wish I'd Known From the Start
On style: Try a few different styles before committing. I wish I'd explored the painted manga aesthetic earlier: I spent time generating pages in a style I later decided wasn't right for my story. A quick test on Page 1 with different style descriptions costs nothing and saves a lot of rework.
On character consistency: This is the big challenge with AI comics. My solutions: blur backgrounds, use reference images, and accept that this is AI - it's not going to be perfect. Hopefully readers (kids especially) won't be that observant / or care.
On text in images: ChatGPT is surprisingly good at rendering speech bubbles and caption boxes directly in the image. But if something comes out wrong, don't regenerate the whole page: take it into Canva and fix just the text there.
On dramatic moments: Give your big moments room to breathe. A full-width splash panel for a key scene, the dome shattering, the final storm, is worth more than four smaller panels. Think cinematically.
On emotional beats: The quietest panels are often the most powerful. My favourite panel in the whole chapter is a close-up of a watch screen showing a woman and a small boy with wild curly hair. No dialogue. No narration. Just the image. ChatGPT nailed it.
On cost: This workflow costs nothing beyond your ChatGPT subscription. If you're already a ChatGPT Plus subscriber, you can do this today for free. If you're on the free plan it's going to be practically impossible to do more than a page a day before they cut you off.
The Finished Result
Three chapters in, I have something I'm genuinely proud of. Pages that capture the drama, the emotion and the world of my story in a way that words alone can't. A shadowy figure escaping through a hatch. An Emperor consumed by a roaring Martian storm. A boy named Kwame smiling on a watch screen, frozen in time.
My plan is to release these on Instagram as carousel posts: each page a swipe, which actually mimics the comic reading experience surprisingly well. From there, the longer term ambition is to publish as a standalone graphic novel on Amazon KDP.
Why You Should Try This
I wrote this for writers. Specifically for writers who, like me, have a story in their head that they wish they could show people rather than just tell them.
This is particularly true for children's books, but probably any book for any audience could benefit from this treatment to some extent. The audience for comic book art is quite broad and it's just loads of fun to do.
The tools aren't perfect and the workflow takes some tweaking, but when it works, the results can be awesome.
If you found this useful, follow along on Instagram where I'll be posting the finished pages as they're completed. And if you try this with your own book, I'd love to see what you create.
Chatty has just emailed me to say I can generate images again, so just like Sky from my story - I'm off.
You can see the latest comic as it develops here.
Please make sure you join my mailing list too, I need all the readers I can get. Thanks.